Key Takeaways:
- Roof flashing is one of the most vulnerable parts of the roof during storms, and even small failures can quickly lead to leaks inside the home.
- Storm damage often comes from a mix of wind, rain, hail, and debris, which can loosen, bend, crack, or dislodge flashing around key roof areas.
- Early warning signs usually show up as interior issues like stains, damp insulation, or musty odors before exterior damage is obvious.
- Ground-level inspection is often enough to spot problems if you know what to look for, such as lifted metal, missing shingles, or debris impact marks.
- Different flashing areas fail in different ways, with chimneys, valleys, and vent pipes being especially prone to storm-related damage.
- Minor issues like loose sections, cracked sealant, or slight bending can often be repaired, but severe corrosion or missing sections usually require replacement.
- Quick inspection and timely repair after a storm are critical to preventing hidden moisture damage from spreading into insulation, framing, and interior finishes.
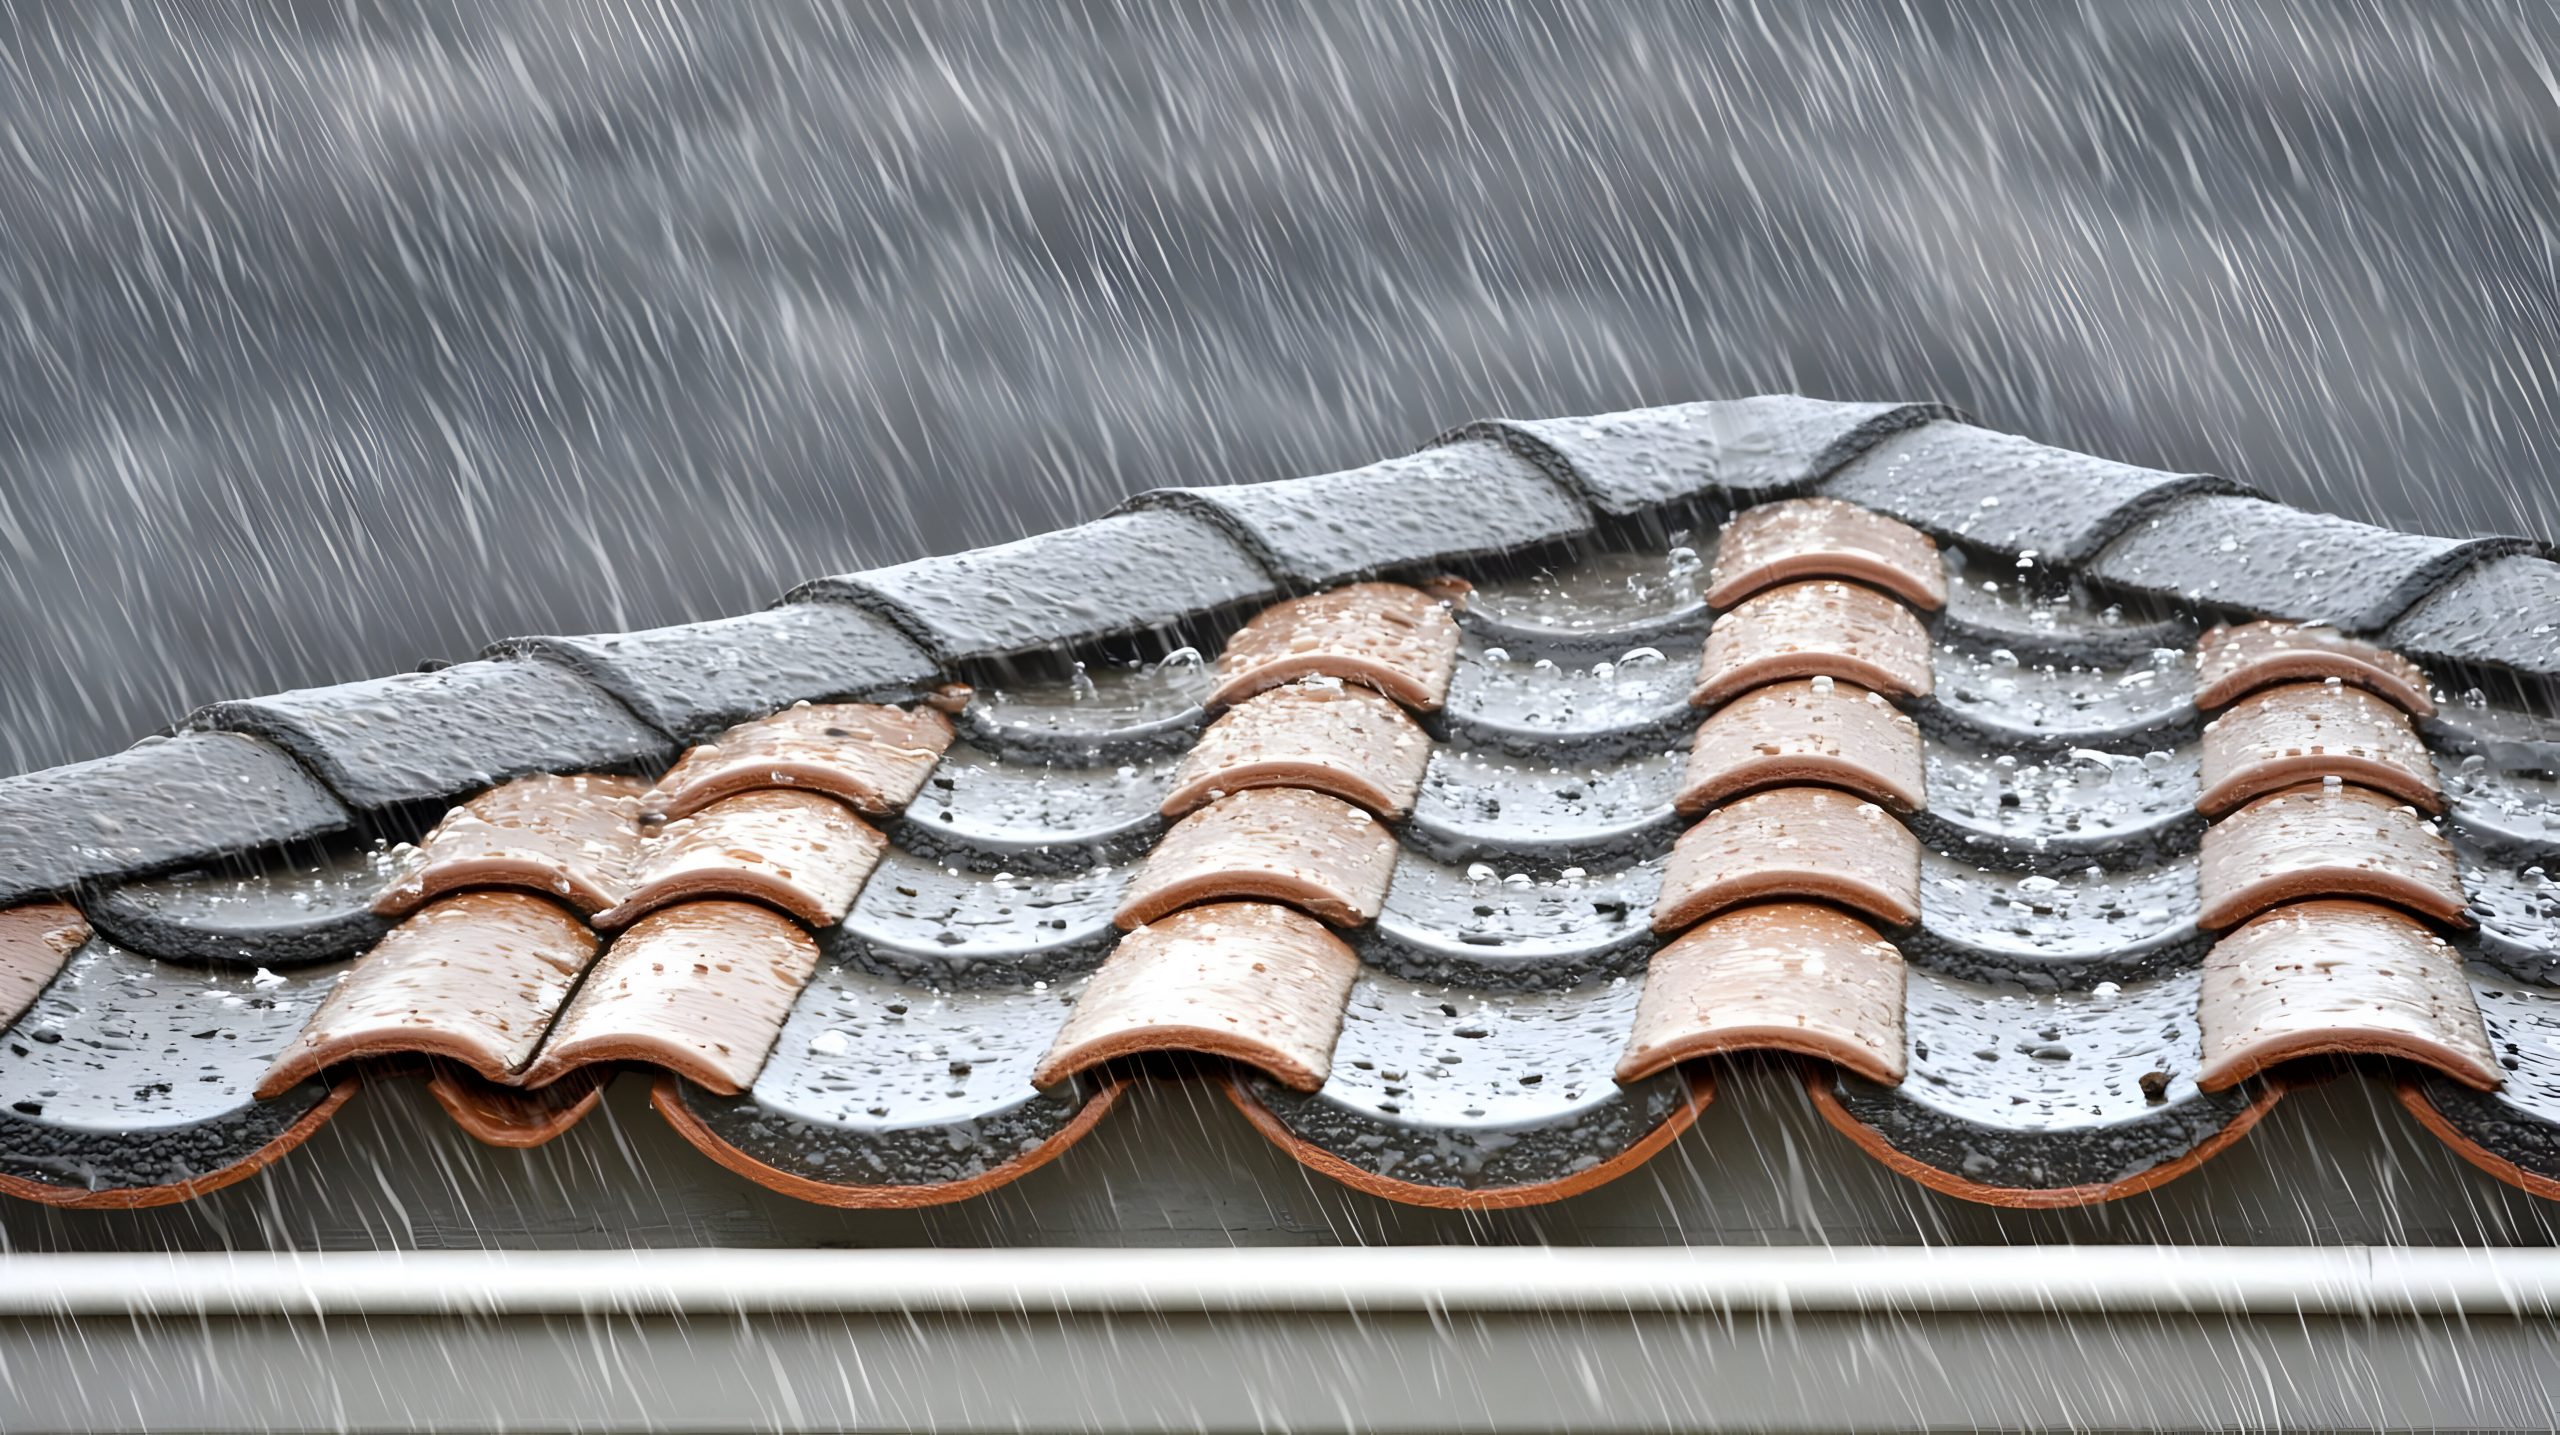
A major storm can leave behind more than a few missing shingles and scattered branches. Wind-driven rain, hail, and flying debris often target the most vulnerable parts of your roof, including the flashing that seals critical joints and openings. If flashing becomes bent, lifted, cracked, or separated, water can work its way into your attic, walls, and ceilings.
Learning how to inspect and repair roof flashing after a major storm helps you catch leaks early and avoid larger structural repairs. Flashing is installed around chimneys, skylights, roof valleys, plumbing vents, and where roof surfaces meet walls. These areas are designed to direct water away from seams, but they depend on tight connections and intact sealants.
In this guide, you will learn how to inspect storm-damaged flashing, recognize common warning signs, and understand the steps involved in making reliable repairs.
What Is Roof Flashing and Why Does It Matter?
Roof flashing is typically made from aluminum, galvanized steel, copper, or another durable metal. It acts as a waterproof barrier in areas where shingles alone cannot provide a complete seal.
Common locations where flashing is installed include:
- Around chimneys
- At skylight edges
- Around vent pipes
- In roof valleys
- Along dormers
- Where roof planes meet walls
- Along drip edges at eaves and rakes
Without properly functioning flashing, water can seep into small openings and cause:
- Ceiling stains
- Mold growth
- Insulation damage
- Wood rot
- Electrical issues
- Structural deterioration
Even a small gap in flashing can allow water to enter during heavy rain.
How Can a Major Storm Damage Roof Flashing?
Storms can affect flashing in several ways.
Strong Winds
High winds can lift shingles and loosen flashing fasteners. Once the metal is exposed, it may bend or pull away from the roof surface. In some cases, wind can peel back sections of step flashing along walls or dislodge drip edge flashing at the roof perimeter.
Wind-Driven Rain
Rain pushed sideways can penetrate tiny cracks in caulking and seams that normally stay watertight. This is especially problematic around chimneys and skylights where multiple flashing components overlap.
Hail Impact
Hailstones may dent metal flashing, crack sealants, and damage adjacent roofing materials. Deep dents can create low spots that trap water and accelerate corrosion.
Falling Branches and Debris
Tree limbs can puncture roofing materials and physically displace flashing. Even if the metal does not tear, the impact can break seals and loosen fasteners.
Rapid Temperature Changes
Storms are often followed by sharp shifts in temperature. Expansion and contraction can worsen existing weak spots and cause brittle sealants to split.
What Are the First Signs of Flashing Damage?
Flashing problems do not always announce themselves immediately. Sometimes the first clue appears days or weeks after a storm.
Watch for:
- Water stains on ceilings
- Damp attic insulation
- Musty odors
- Dripping around chimneys or skylights
- Missing or cracked caulk
- Rust on exposed metal
- Loose shingles near roof penetrations
- Mold growth on interior surfaces
These are common signs of roof damage after severe weather and should prompt a thorough inspection.
Is It Safe to Inspect Your Roof After a Storm?
Safety should always come first.
Avoid climbing onto the roof if:
- The surface is wet or slippery
- Power lines are nearby
- Structural damage is visible
- You lack fall protection equipment
- Winds are still strong
A ground-level inspection using binoculars is often enough to spot obvious issues.
Tools You May Need for Inspection and Repair
Gathering the right tools makes the process more efficient.
Inspection Tools
- Binoculars
- Flashlight
- Moisture meter
- Ladder
- Camera or smartphone
- Work gloves
Repair Materials
- Roofing sealant
- Replacement flashing
- Roofing nails or screws
- Pry bar
- Utility knife
- Tin snips
- Hammer or drill
How to Inspect Roof Flashing From the Ground
Start with a careful visual inspection around your property before ever considering climbing onto the roof. Ground-level checks are often enough to identify early or moderate storm damage, especially when you know what to look for and use binoculars or a zoom camera for closer detail.
Begin by slowly walking around the entire perimeter of your home. View the roof from multiple angles—front, back, and both sides—because flashing damage is not always visible from a single direction. Storm winds can affect one section of the roof while leaving others untouched, so perspective matters.
Look for the following warning signs:
- Bent, lifted, or twisted metal flashing around chimneys, skylights, or roof edges
- Pieces of flashing or metal strips on the ground near the house, which may indicate complete detachment
- Missing, curled, or displaced shingles near roof penetrations such as vents or chimneys
- Visible debris impact points, such as broken branches or dark scuff marks on the roof surface
- Sagging or misaligned gutters that may suggest edge flashing or fascia damage
- Discolored streaks on exterior walls beneath roof intersections, which can indicate water escaping behind flashing
Pay close attention to roof valleys and areas where different roof sections meet, as these locations concentrate water flow during heavy rain and are often the first to show failure after a storm.
It also helps to look for subtle changes in roof lines. A section that appears uneven, slightly raised, or visually disrupted compared to adjacent areas can signal underlying flashing movement or fastener failure.
Take clear photographs of anything unusual. Capture wide shots to show location and close-up shots to document detail. These images are useful not only for tracking damage progression but also for insurance claims or contractor assessments. If possible, take comparison photos of the same areas from before the storm to highlight changes more clearly.
If you are unsure whether something is damaged, mark it as a potential issue rather than ignoring it. Even small abnormalities can become entry points for water over time.
What Should You Check in the Attic?
Your attic can reveal problems that are not visible outside, especially after heavy rain or strong winds. Even small leaks often show up here first before you see exterior damage.
Inspect:
- Underside of roof decking for discoloration or soft spots
- Rafters and trusses for dark streaks or moisture trails
- Insulation for damp patches or compression
- Areas around chimney and vent penetrations where leaks commonly enter
Look for:
- Water stains that spread outward from a point of entry
- Active drips or dampness## Which Flashing Areas Are Most Vulnerable?
Certain roof areas take the most stress during storms because they interrupt the smooth flow of water or change roof direction.
Which Flashing Areas Are Most Vulnerable?
Certain roof areas take the most stress during storms because they interrupt the smooth flow of water or change roof direction.
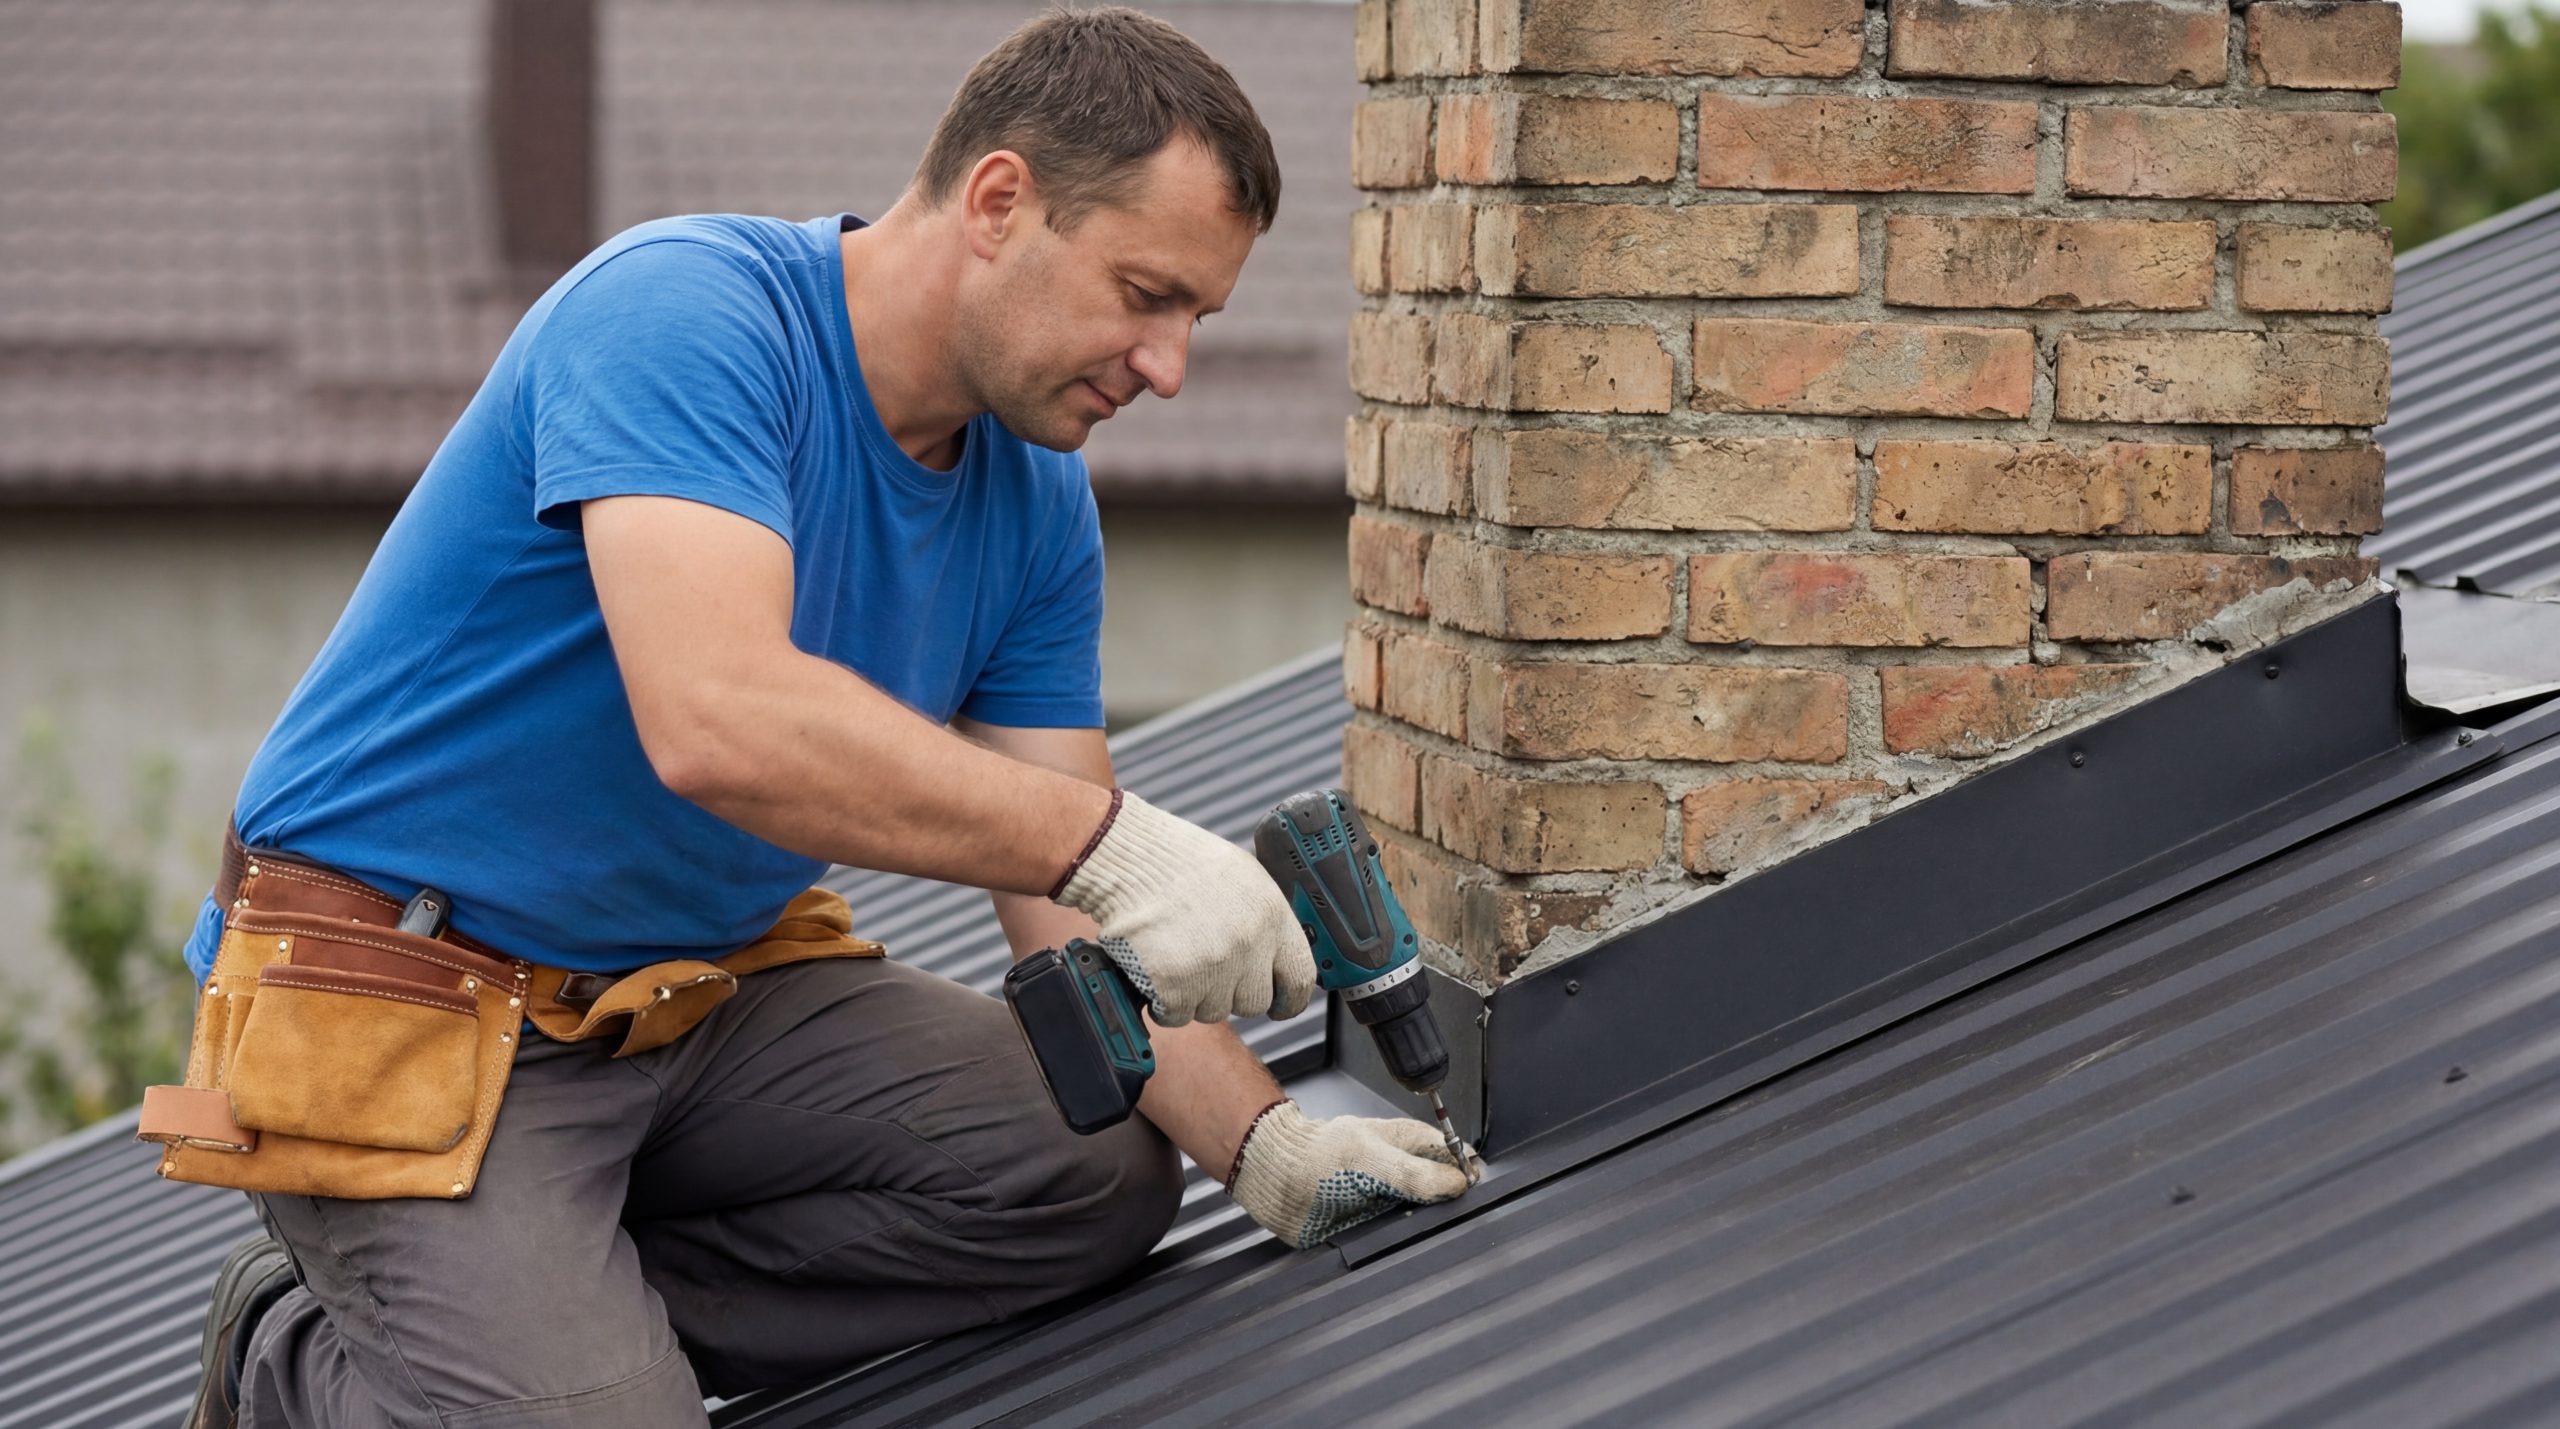
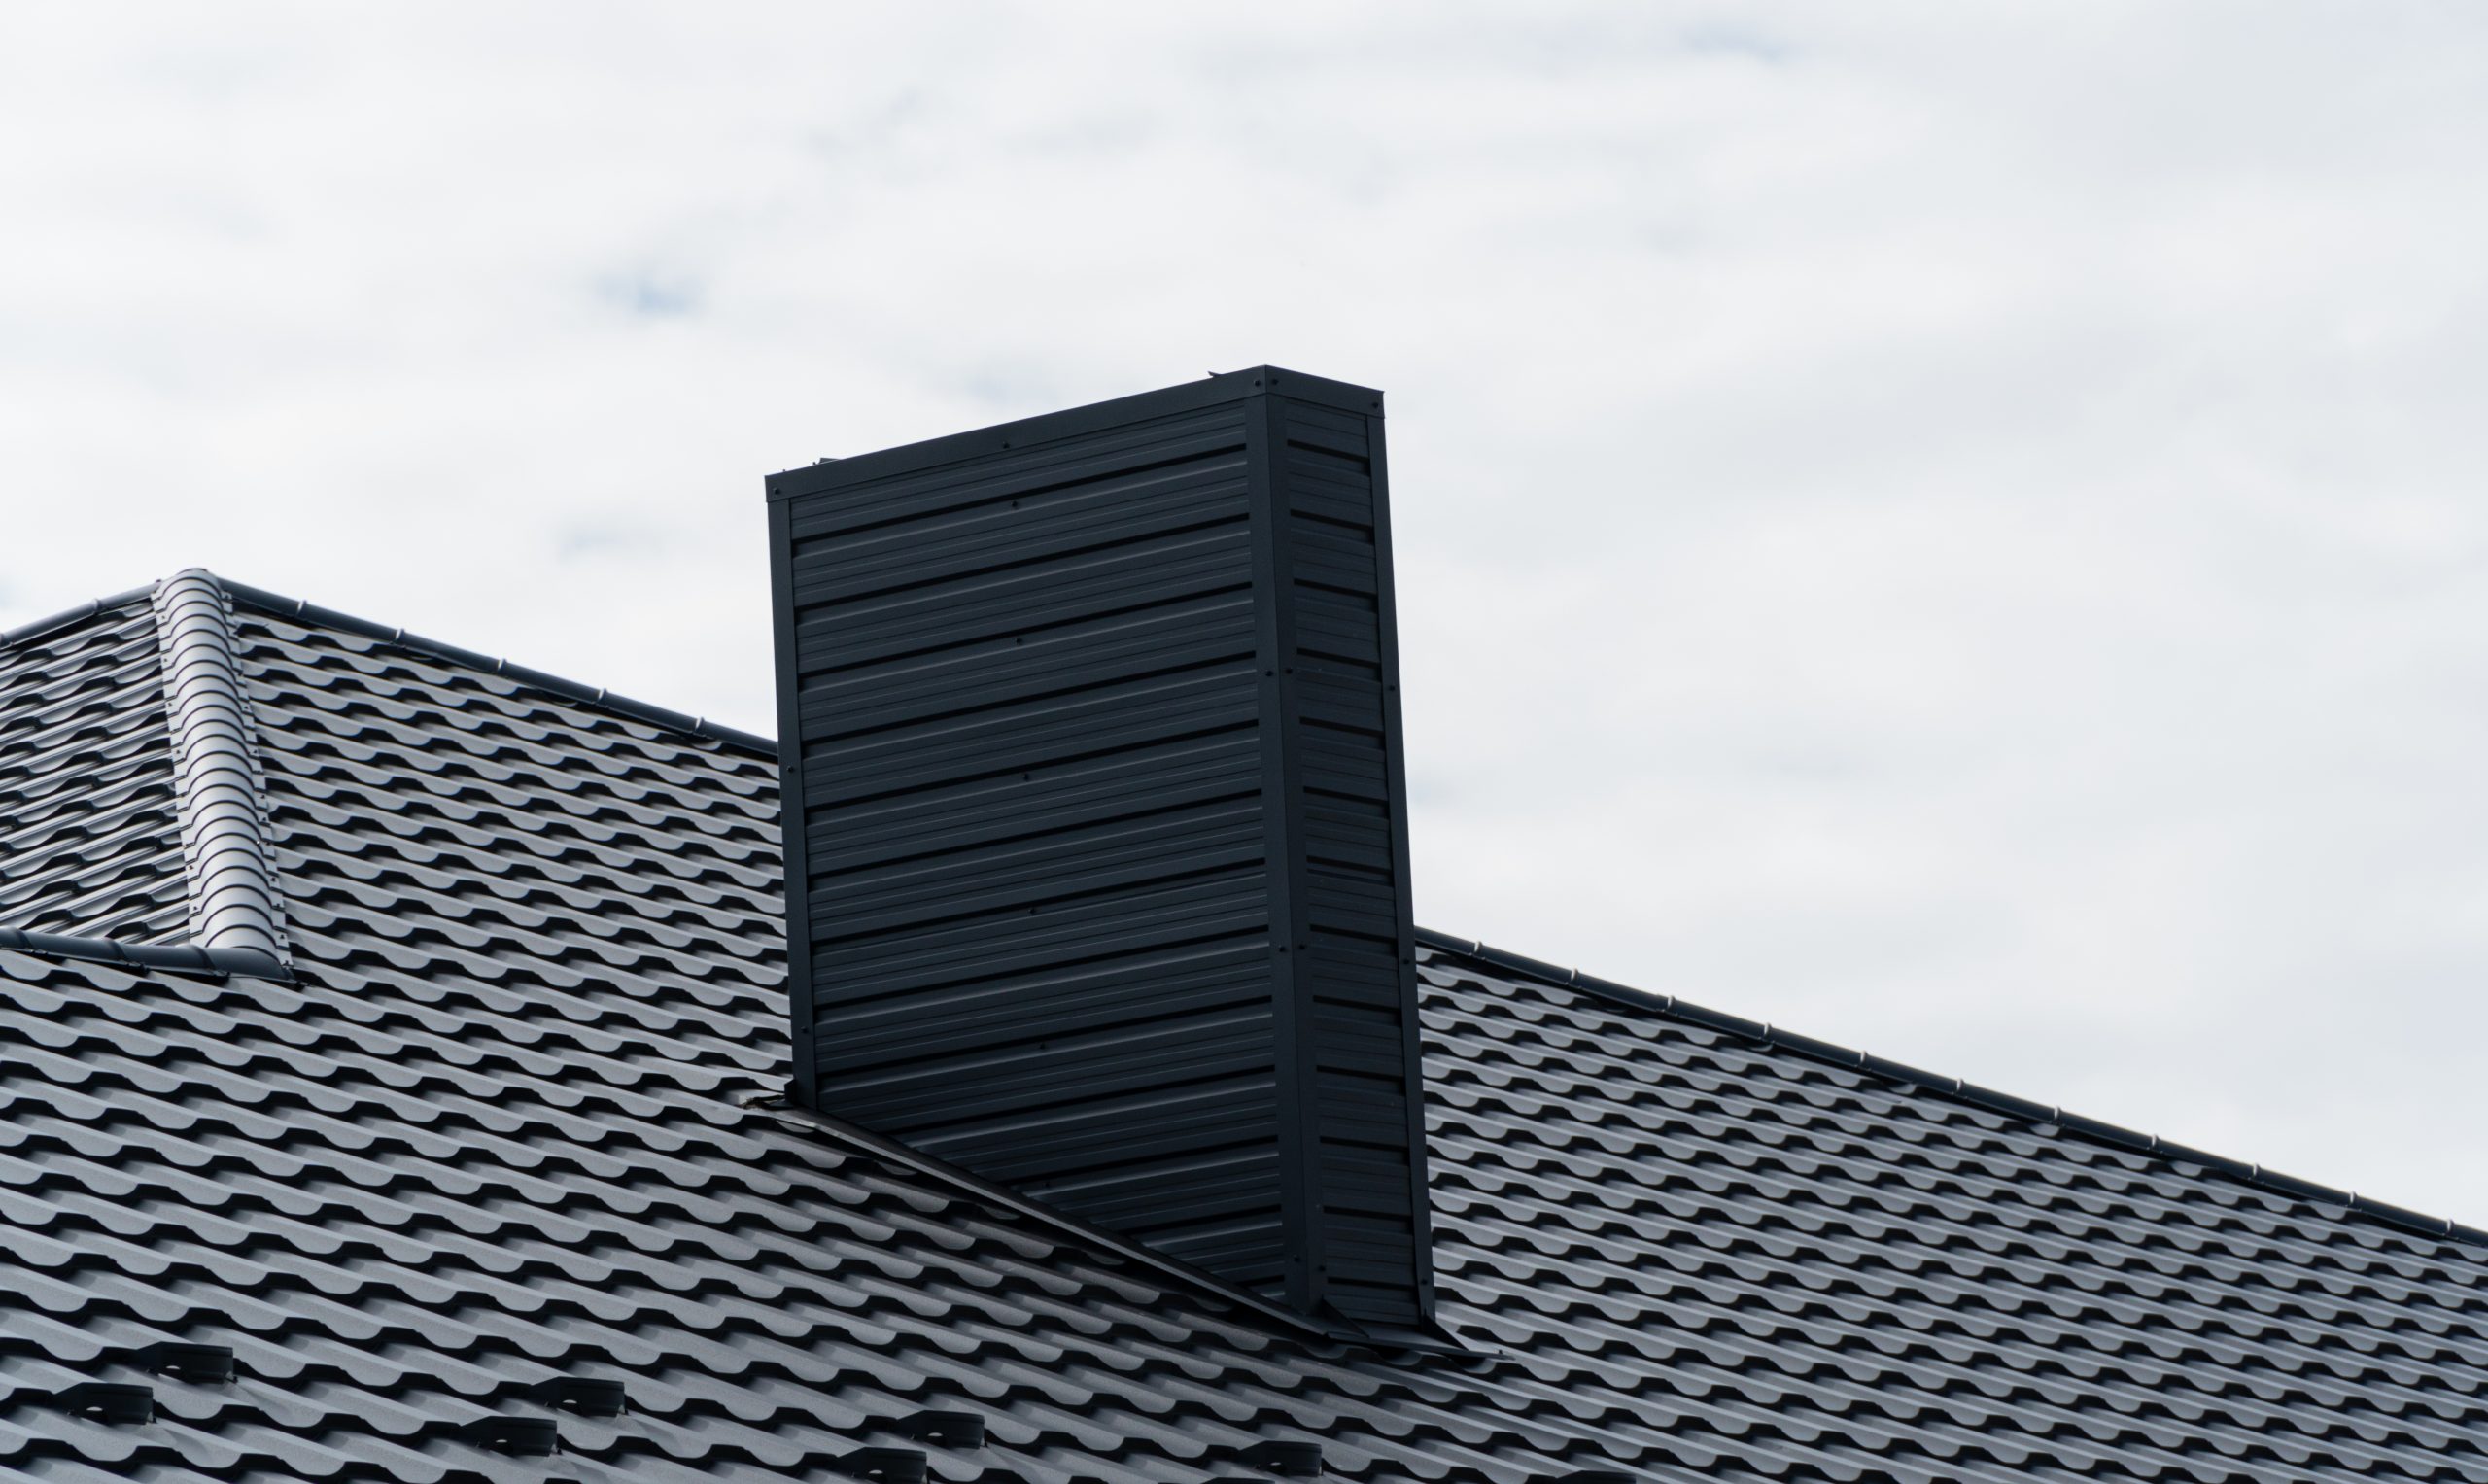
Chimney Flashing
Chimneys are highly vulnerable due to multiple joints and materials meeting in one place. Step flashing and counter flashing can separate if mortar weakens or bricks shift.
Skylight Flashing
Skylights rely on layered flashing systems. Wind-driven rain can easily force water under edges if any section is loosened or poorly sealed.
Vent Pipe Flashing
Rubber boots around vent pipes naturally degrade over time. UV exposure and temperature changes often cause cracking or splitting.
Valley Flashing
Roof valleys collect and channel large volumes of water, making them prone to corrosion, debris buildup, and overflow during heavy storms.
Wall Flashing
Where the roof meets siding or masonry, flashing must stay tightly sealed to prevent water from slipping behind exterior walls.
How Do You Know Whether Flashing Needs Repair or Replacement?
Minor issues can often be repaired, while severe damage usually requires replacement.
Repair May Be Enough When:
- Sealant has cracked
- Nails have backed out
- Flashing is slightly lifted
- Rust is superficial
Replacement Is Better When:
- Metal is torn or punctured
- Corrosion has eaten through the surface
- Flashing is badly bent
- Sections are missing
- Repeated leaks have occurred
How to Repair Loose Roof Flashing
Loose flashing usually happens when high winds lift shingles or weaken the fasteners holding the metal in place. Once that seal breaks, water can slip underneath and travel into the roof layers.
The goal here is to reset the flashing so it sits flat again and is tightly secured without damaging surrounding materials.
- Gently lift the surrounding shingles to expose the flashing edges
- Remove any old nails or screws that are no longer holding securely
- Clear away debris, old sealant, or rust buildup from the surface
- Reposition the flashing so it lies completely flat against the roof
- Secure it with corrosion-resistant roofing nails or screws
- Apply roofing sealant over exposed fasteners and small gaps
- Carefully lay shingles back into place, ensuring proper overlap
How to Reseal Cracked Joints
Sealant joints tend to dry out over time, and storms often make existing cracks worse. Even small gaps can allow wind-driven rain to enter behind the flashing.
This repair is less about rebuilding and more about restoring a watertight seal at weak connection points.
- Strip away all loose, cracked, or deteriorated caulk
- Clean the surface thoroughly to ensure proper adhesion
- Let the area dry completely before applying new sealant
- Apply a steady bead of roofing-grade sealant along the joint
- Smooth the sealant so it fully covers and bonds both surfaces
- Allow adequate curing time before exposure to moisture
How to Repair Bent Flashing
Flashing can bend from falling branches, heavy debris, or wind pressure during storms. Even slight distortion can change how water flows across the roof surface.
In many cases, minor bending can be corrected without full replacement if the metal remains intact.
- Slowly reshape the flashing using gentle, controlled pressure
- Inspect fold lines closely for cracks or weak stress points
- Re-secure any sections that have loosened from the roof surface
- Seal any new gaps or exposed seams with roofing sealant
- Replace the flashing if it is sharply creased or structurally weakened
How to Replace Damaged Step Flashing
Step flashing protects roof-to-wall transitions, making it one of the most important waterproofing systems on the roof. When it fails, leaks often appear along walls or interior corners.
Because it is layered under shingles, careful removal and reinstallation are essential.
- Remove shingles covering the damaged flashing area
- Carefully pull out the damaged step flashing piece
- Slide in a new flashing section of matching size and material
- Nail it into place where it will be hidden by overlapping layers
- Reinstall shingles in the correct stepped pattern over the flashing
- Ensure each layer directs water down onto the shingle below
How to Repair Vent Pipe Flashing
Vent pipe flashing failures often start with a cracked rubber boot or a loosened base. Once that seal breaks, water can travel directly into the roof opening around the pipe.
This repair is usually straightforward but must be sealed properly to prevent repeat leaks.
- Remove nails securing the flashing base to the roof
- Lift surrounding shingles carefully without tearing them
- Slide out the damaged vent flashing assembly
- Install a new rubber boot tightly around the vent pipe
- Secure the base back into position
- Seal all edges and contact points with roofing sealant
How to Address Chimney Flashing Problems
Chimney flashing is more complex than other roof penetrations because it uses multiple overlapping components. When storms hit, even one weak point can compromise the entire system.
A proper inspection should look at both metal flashing and surrounding masonry conditions.
- Check for cracked or deteriorated mortar joints
- Inspect counter flashing for looseness or separation
- Look for rusted, lifted, or missing step flashing sections
- Identify gaps or failures in existing sealant lines
- Reseal minor gaps where the metal is still intact
- Rebuild sections if multiple components have failed
What If You Find Water Damage Inside?
Interior water damage is often the first visible sign that flashing has been compromised for a while. By the time stains appear, moisture may have already spread through insulation or framing.
Addressing the interior damage is just as important as fixing the roof itself.
- Look for stained, bubbling, or sagging drywall
- Check insulation for dampness or compression
- Inspect for mold growth around ceilings and upper walls
- Identify soft or discolored wood framing
- Dry affected areas thoroughly after roof repairs are complete
- Replace materials that show long-term moisture damage
How Temporary Repairs Can Help
When weather conditions prevent immediate roof work, temporary fixes can slow down further damage. These are not permanent solutions, but they can protect your home until proper repairs are done.
- Secure a heavy-duty tarp over the affected roof section
- Anchor all edges tightly to prevent wind from lifting it
- Use emergency roofing sealant for small visible cracks
- Place containers in the attic to catch active leaks
- Monitor temporary fixes regularly, especially during rain
How to Document Damage for Insurance
After a major storm, proper documentation can make a big difference when filing an insurance claim. The more detailed your records are, the easier it is to show the extent of the damage.
It’s important to capture both structural and interior evidence clearly and consistently.
- Take wide and close-up photos of all roof damage
- Document interior leaks, stains, and affected materials
- Record the date and conditions of the storm
- Write notes describing when damage was first noticed
- Keep receipts for emergency repairs or materials used
- Organize all evidence before submitting a claim
What to Do After Major Wind Damage
High winds can affect much more than the flashing itself.
A thorough response should include:
- Checking for missing shingles
- Inspecting gutters and downspouts
- Looking for exposed underlayment
- Examining attic spaces for leaks
- Assessing nearby trees for broken limbs
Understanding what to do after major wind damage helps you identify related issues before they lead to more extensive repairs.
Can You Repair Roof Flashing Yourself?
Many homeowners can handle minor repairs if they are comfortable working at heights and have the proper tools.
DIY repairs are most suitable when:
- Damage is limited
- The roof is easily accessible
- No structural issues are present
- Safety equipment is available
More complex repairs may be better left to experienced roofers.
When Is Professional Help the Better Choice?
Some situations call for expert assessment.
Consider professional assistance if:
- Leaks persist after repairs
- Multiple flashing areas are damaged
- The roof is steep
- Chimney masonry is deteriorated
- Insurance documentation is needed
Professionals can also identify hidden moisture problems.
How Much Does Roof Flashing Repair Usually Cost?
Costs vary depending on:
- Type of flashing
- Accessibility
- Extent of damage
- Material used
- Local labor rates
Minor resealing may be relatively inexpensive, while extensive chimney or valley flashing replacement can cost significantly more.
How Long Does Roof Flashing Last?
Life expectancy depends on material and climate.
Typical ranges:
- Aluminum: 20 to 30 years
- Galvanized steel: 20 to 30 years
- Copper: 50 years or more
Sealants and rubber components may need replacement sooner.
How to Prevent Future Flashing Problems
Preventive maintenance reduces the likelihood of leaks.
Best practices include:
- Inspecting the roof after major storms
- Clearing debris from valleys
- Trimming overhanging branches
- Replacing cracked sealants
- Checking attic spaces regularly
- Keeping gutters clean
Consistent upkeep extends the life of the entire roofing system.
Should You Inspect the Roof Every Storm Season?
Routine inspections are one of the best ways to catch minor issues.
A practical schedule includes:
- Once in spring
- Once in fall
- After severe storms
- Before listing a home for sale
Early detection often means simpler and less expensive repairs.
Common Mistakes to Avoid
Homeowners sometimes unintentionally worsen flashing problems.
Avoid these mistakes:
- Applying sealant over wet surfaces
- Ignoring rust spots
- Reusing damaged flashing
- Walking on fragile roofing materials
- Delaying repairs after leaks appear
- Using incompatible materials
Taking the time to repair correctly provides more reliable results.
How Flashing Repairs Protect the Rest of Your Home
Roof flashing may appear to be a small component, but it has an outsized role in preventing water intrusion.
When flashing fails, moisture can damage:
- Roof decking
- Insulation
- Drywall
- Paint finishes
- Framing lumber
- Flooring
By correcting problems quickly, you help preserve both structural integrity and indoor comfort.
Frequently Asked Questions
Can Flashing Leak Even If Shingles Look Fine?
Yes. Flashing protects seams and penetrations, which can fail independently of surrounding shingles.
Is Roof Cement Enough for Repairs?
Roof cement can help with small fixes, but it should not be used as a substitute for replacing severely damaged flashing.
How Soon Should Repairs Be Made After a Storm?
As soon as conditions are safe. Delays increase the risk of hidden water damage.
Does Rust Always Mean Replacement?
Not necessarily. Surface rust can often be treated, but perforated metal should be replaced.
Can Small Leaks Cause Serious Damage?
Yes. Slow leaks can lead to mold, wood rot, and insulation deterioration over time.
Closing Thoughts
Knowing how to inspect and repair roof flashing after a major storm can help you respond quickly when leaks threaten your home. By checking vulnerable areas such as chimneys, skylights, valleys, and vent pipes, you can spot storm damage early and make repairs before moisture spreads.
Whether the fix involves resealing a small gap, securing loose metal, or replacing damaged sections, timely action protects your roof and the structure beneath it. Regular inspections and consistent maintenance go a long way toward keeping your home dry, safe, and resilient through future storms.